

一、寫在前面
接着之前的學習,之前應時間關係並沒有實現表單功能,今天就來實現表單功能,繼續基於現有的 demo1 項目折騰,記錄學習過程,新手小夥伴也能跟着一步步實現~
二、實現簡單表單功能
(一)需求與頁面準備
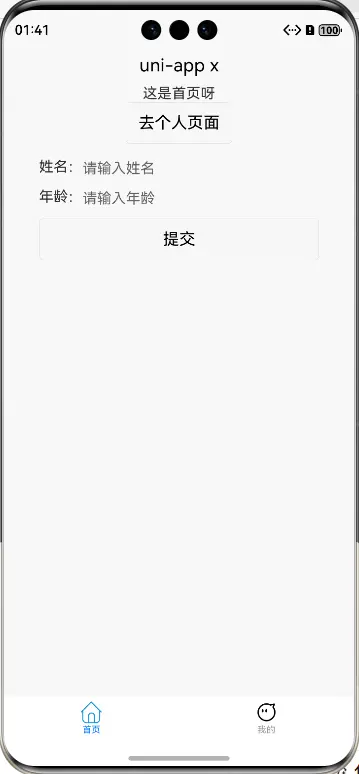
在首頁(index 頁面)添加一個簡單表單,比如包含姓名、年齡輸入框和提交按鈕,填寫信息後點擊提交,模擬數據提交(實際開發可對接接口,這裏先做基礎演示)。
(二)編寫表單代碼
打開 pages/index/index.uvue,添加表單相關代碼:
<template>
<view class="container">
<text>這是首頁呀</text>
<!-- 跳轉按鈕 -->
<button @click="goToUserPage">去個人頁面</button>
<!-- 表單區域 -->
<view class="form-area">
<view class="form-item">
<text>姓名:</text>
<input class="wh" type="text" placeholder="請輸入姓名" v-model="formData.name" />
</view>
<view class="form-item">
<text>年齡:</text>
<input class="wh" type="number" placeholder="請輸入年齡" v-model="formData.age" />
</view>
<button class="submit-btn" @click="submitForm">提交</button>
</view>
</view>
</template>
<script>
export default {
data() {
return {
formData: {
name: '',
age: ''
}
};
},
methods: {
goToUserPage() {
uni.navigateTo({
url: '/pages/user/user'
});
},
submitForm() {
if (!this.formData.name || !this.formData.age) {
uni.showToast({
title: '請填寫完整信息',
icon: 'none'
});
return;
}
// 這裏可實際對接接口,現在先模擬提交,打印數據
console.log('提交的表單數據:', this.formData);
uni.showToast({
title: '提交成功',
icon: 'success'
});
}
}
}
</script>
<style>
.container {
display: flex;
flex-direction: column;
align-items: center;
justify-content: center;
height: 100vh;
}
button {
margin-top: 20rpx;
padding: 15rpx 30rpx;
background-color: #007AFF;
color: #fff;
border-radius: 8rpx;
}
.form-area {
width: 80%;
margin-top: 30rpx;
}
.form-item {
display: flex;
flex-direction: row;
margin-bottom: 20rpx;
}
.form-item text {
width: 120rpx;
}
.input {
flex: 1;
padding: 10rpx;
border: 1px solid #ccc;
border-radius: 4rpx;
}
.submit-btn {
width: 100%;
}
.wh{
width: 50%;
}
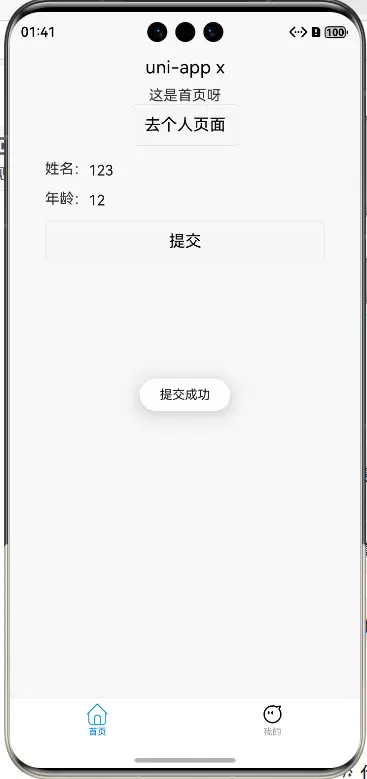
</style>這裏用 v-model 雙向綁定表單數據,提交時做簡單的非空校驗,校驗不通過用 uni.showToast 提示,通過的話模擬提交(打印數據並提示成功)。
頁面效果:

三、遇到的問題及解決
(一)列表跳轉傳遞數據失敗
一開始在傳遞列表項數據時,忘記用 JSON.stringify 轉成字符串,導致詳情頁接收不到正確數據。後來加上轉換,並且在詳情頁用 JSON.parse 解析,就解決了問題。所以傳遞複雜數據(對象、數組等)時,一定要做好序列化和反序列化處理。
(二)表單輸入框樣式不統一
編寫表單樣式時,輸入框的邊框、內邊距等樣式沒設置好,導致頁面看起來很凌亂。通過給 input 統一設置 border、padding 等樣式,讓表單外觀更規整。做樣式調整時,要多調試,保證不同設備上顯示效果一致。
四、總結
今天給項目添加了一個重要功能,完成了簡單表單的搭建,包含輸入、校驗和模擬提交。這些功能都是實際開發中經常用到的,雖然實現起來不算複雜,但把它們整合到項目裏,能讓項目更完整。後續打算給表單對接真實接口,繼續豐富項目。學習就是這樣一步步積累,把每個小功能吃透,慢慢就能開發出更復雜的應用啦,繼續加油~
`##Uniapp##三方框架##商務##
