


在生產實踐中,Apache DolphinScheduler 3.1.9 版本因其穩定性和成熟的特性,成為眾多企業用户的首選版本。隨着使用深入,不少用户希望在此基礎上進行二次開發,以更好地滿足自身業務需求。然而,開展二次開發前,搭建完善的本地開發環境至關重要。本文結合真實案例,詳細介紹 DolphinScheduler 3.1.9 的二次開發環境配置流程,希望為有定製化開發需求的用户提供實用、可靠的參考。
準備工作
在搭建 DolphinScheduler 開發環境之前請確保你已經安裝以下軟件:
- Git
- JDK: v1.8.x (注意DolphinScheduler3.1.9只能安裝jdk v1.8.x不能升級)
- Maven: v3.5+
- Node: v16.13+ (dolphinScheduler 版本低於 3.0, 請安裝 node v12.20+)
- Pnpm: v6.x(注意DolphinScheduler3.1.9只能安裝Pnpm v6.x不能升級)
打開pom.xml文件
使用idea打開pom.xml文件,作為項目打開。
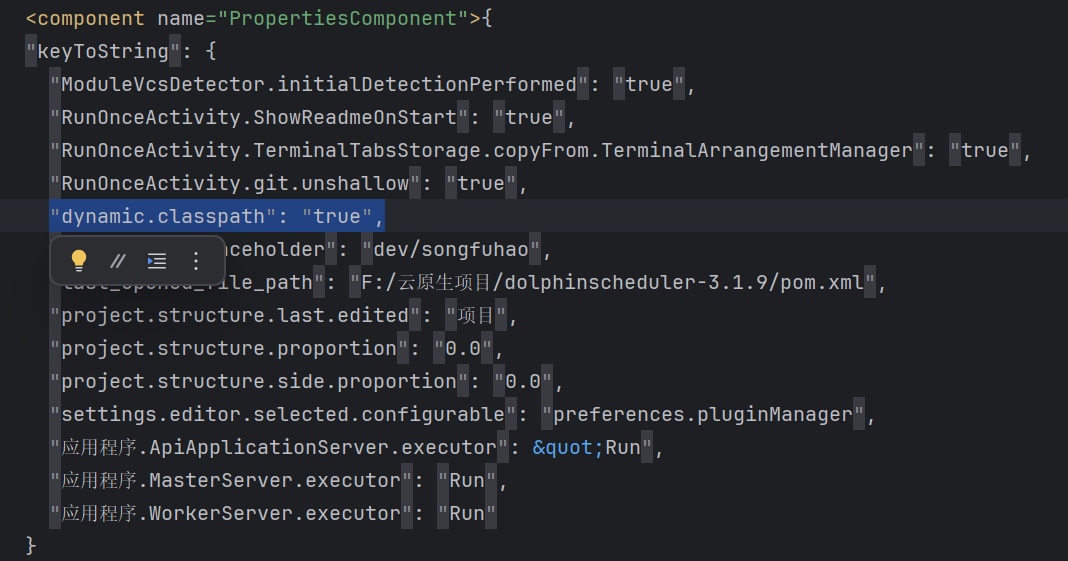
在.idea目錄下找到workspace.xml,在PropertiesComponent屬性下增加下面這一行。
“dynamic.classpath”: “true“
下載ZooKeeper並解壓
在 ZooKeeper 的目錄下新建 Data文件夾。
將 conf 目錄下的 zoo_sample.cfg 文件複製一份,重命名為 zoo.cfg,修改其中數據的配置,如下:
把dataDir路徑設置為剛剛新建的Data文件夾目錄。

然後啓動服務,運行 ./bin/zkServer.cmd。
修改數據庫配置
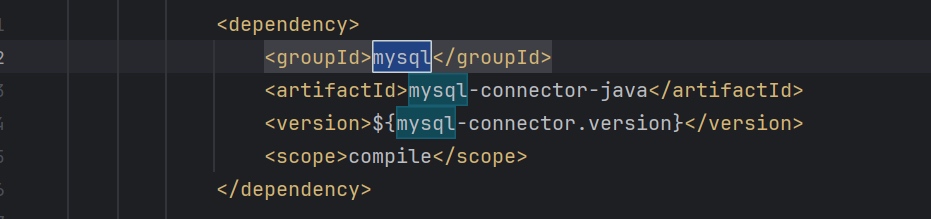
打開dolphinscheduler-bom模塊的pom文件修改數據庫配置。
使用postgresql不用修改,使用mysql則需要修改。將MySQL的依賴中的test改為compile右上角的Maven要記得點擊進行更新。
創建數據庫並初始化
安裝mysql,推薦使用8.0.16+。
創建完數據庫後進行初始化。如下圖所示,將文件中的sql語句複製出來在數據庫上執行初始化。

配置MySQL
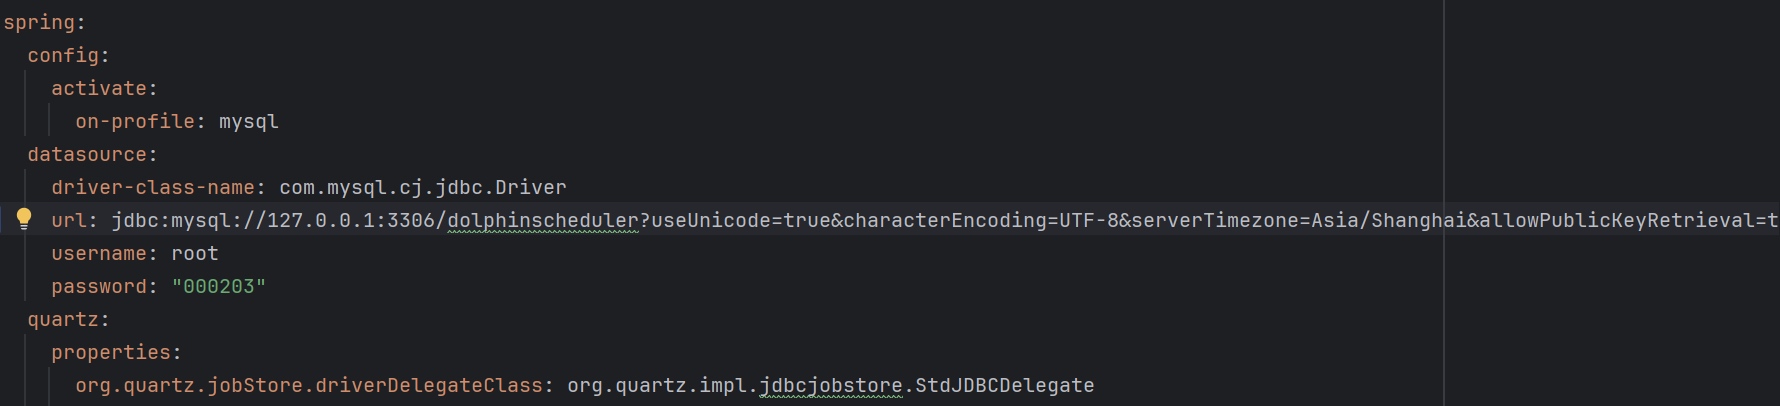
配置dolphinscheduler-alert、dolphinscheduler-api、dolphinscheduler-master、dolphinscheduler-worker的application.yaml文件和logback-spring.xml文件,把postgresql改為mysql配置並修改日誌級別。
例如dolphinscheduler-master配置mysql如下所示:
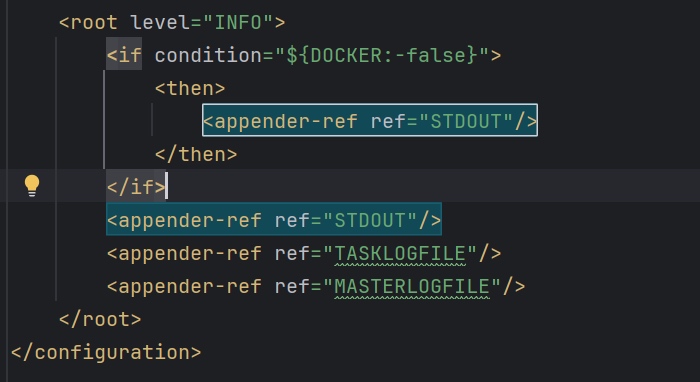
例如dolphinscheduler-master修改日誌級別,以及在logback-spring.xml文件中修改如下所示:
修改模塊配置
修改dolphinscheduler-ui模塊的 package.json
為了避免版本衝突,打開dolphinscheduler-ui模塊的package.json文件,去除所有^符號。

啓動後端服務和前端服務
我們需要啓動三個服務,包括MasterServer,WorkerServer,ApiApplicationServer。
- MasterServer:在
Intellij IDEA中執行org.apache.dolphinscheduler.server.master.MasterServer中的main方法,並配置VM Options -Dlogging.config=classpath:logback-spring.xml -Ddruid.mysql.usePingMethod=false -Dspring.profiles.active=mysql - WorkerServer:在
Intellij IDEA中執行org.apache.dolphinscheduler.server.worker.WorkerServer中的mai方法,並配置VM Options -Dlogging.config=classpath:logback-spring.xml -Ddruid.mysql.usePingMethod=false -Dspring.profiles.active=mysql - ApiApplicationServer:在
Intellij IDEA中執行org.apache.dolphinscheduler.api.ApiApplicationServer中的main方法,並配置VM Options -Dlogging.config=classpath:logback-spring.xml -Dspring.profiles.active=api,mysql。
打開運行配置,打開添加虛擬機選項然後輸入上述命令並確定,即可完成配置。

最後在dolphinscheduler-ui目錄下運行如下命令,安裝前端依賴並運行前端組件:
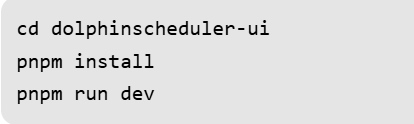
運行起來後就會看見端口,瀏覽器打開即可看到網頁。


原文鏈接:https://blog.csdn.net/qq_42838399/article/details/149167971


