創建GitHub Pages博客
為啥用這個,主要是免費、部署快,對個人博客要求沒那麼高的可以搞一下子
基礎配置工作
- 首先登錄github: https://github.com
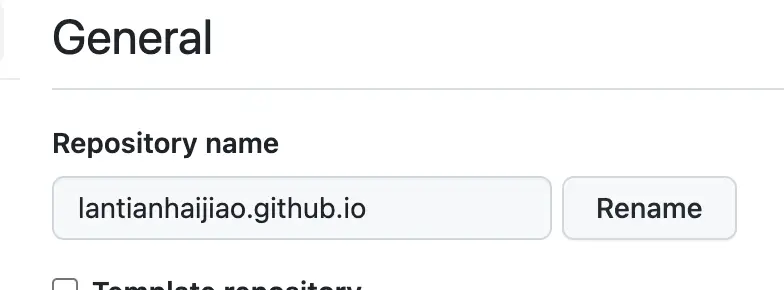
- 然後在setting設置repo名字和github.com名字一致
github.com是 https://github.com/lantianhaijiao,github.io名字是lantianhaijiao.github.io
會自動生成這個域名(https://lantianhaijiao.github.io)可訪問,如果repo名字設置了【vue】,訪問地址就是
https://lantianhaijiao.github.io/vue/
根域名:https://lantianhaijiao.github.io
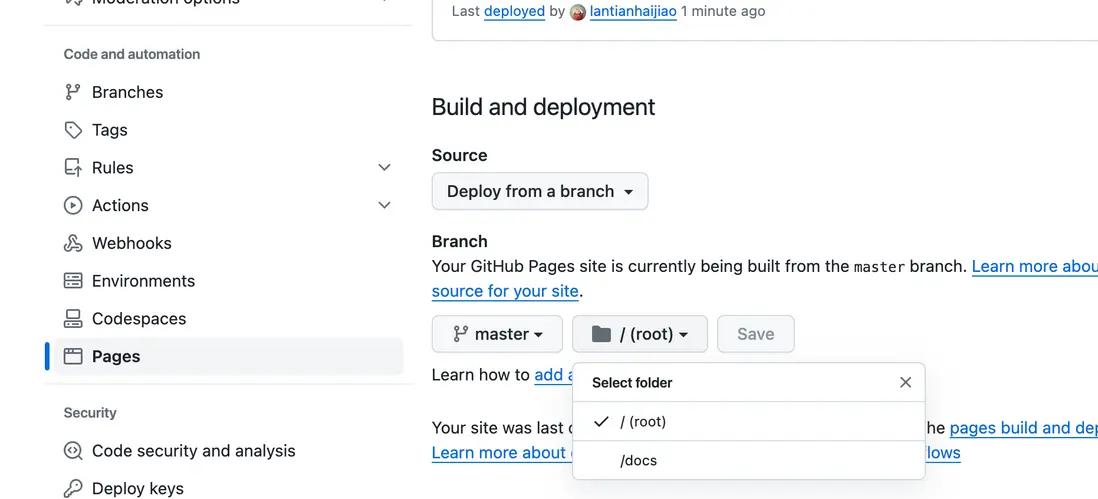
pages設置訪問的目錄
比如我的項目期望訪問根域名是一個頁面(默認會進入index.html或者README.md), 也可以訪問 【根域名/vue/docs】.
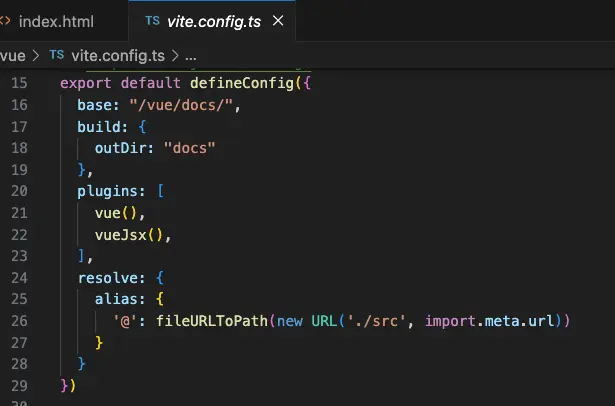
訪問repo下的 vue/docs 目錄(打包後的), 這時候vite的base需要注意,需要設置成 "/vue/docs/"
如果訪問【根域名/vue】,會訪問到未打包的vue項目,應該訪問【根域名/vue/docs】
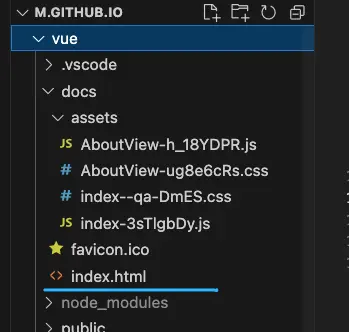
項目結構
pages設置
使用Hexo搭建博客
全局安裝Hexo
npm install -g hexo-cli 初始化博客(會自動創建一個blog的文件夾)
hexo init blog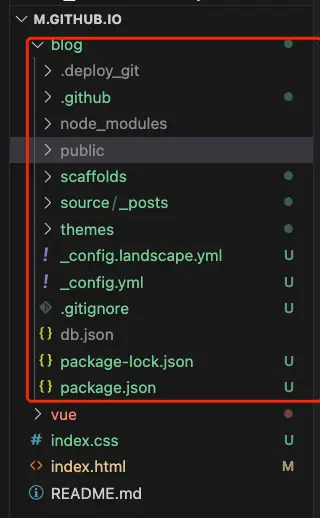
cd 到blog npm install
檢測網站是否創建成功
hexo new test_my_site  // 創建
hexo g   // 生成
hexo s // 啓動命令
hexo和node是綁定關係(比如在node12.x安裝了,切換到node16是用不了的,會報命令不存在)
打開localhost:4000看效果
推送網站到github
_config.yml為站點配置文件
deploy:
  type: 'git'
  repo: 'git@github.com:yourname/yourname.github.io.git'
branch: 'master'開始報這個錯誤,後來把repo改為ssh就好了(需要授權github登錄密碼)
fatal: Authentication failed for 'https://github.com/lantianhaijiao/lantianhaijiao.github.io.git/'
Hexo部署流程
安裝git部署插件
npm install hexo-deployer-git --save執行以下操作部署,完成
hexo clean
hexo g
hexo d // 部署
一鍵部署
hexo clean && hexo g -d這麼部署下來後,會覆蓋原有github網站內容(原來的index.html和vue文件夾都消失了)
設置標題目錄封面等
---
title: segmentfault
toc: 前端
cover: /img/common/t1.jpg
categories: js
---
錯誤:
fatal: in unpopulated submodule 'blog/.deploy_git'
.deploy_git文件夾下的.git文件刪除了就報這個錯
最後附上部署好的地址:
https://lantianhaijiao.github.io


