今天我們來看WebSSH的簡單實現。
因為web的便利性,很多傳統功能都有了web端的實現,WebSSH就是其中之一,我是第一次接觸,所以來記錄一下使用。
WebSSH支持終端交互,主要可以分為兩部分,第一是頁面輸入命令行並傳遞給遠程終端,第二是展示命令執行結果,這兩部分現在都已經有具體實現的庫了,所以我們只需要把它們組合起來。
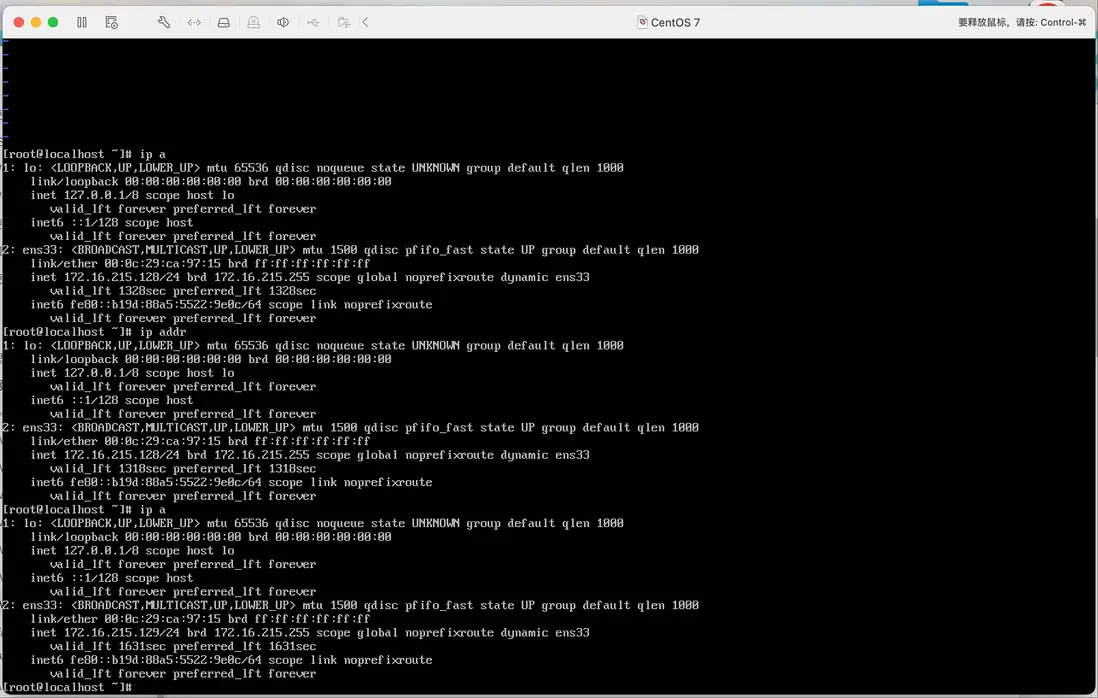
在具體實現之前,需要先準備一個遠程終端,我這裏用的是VMware創建的虛擬機
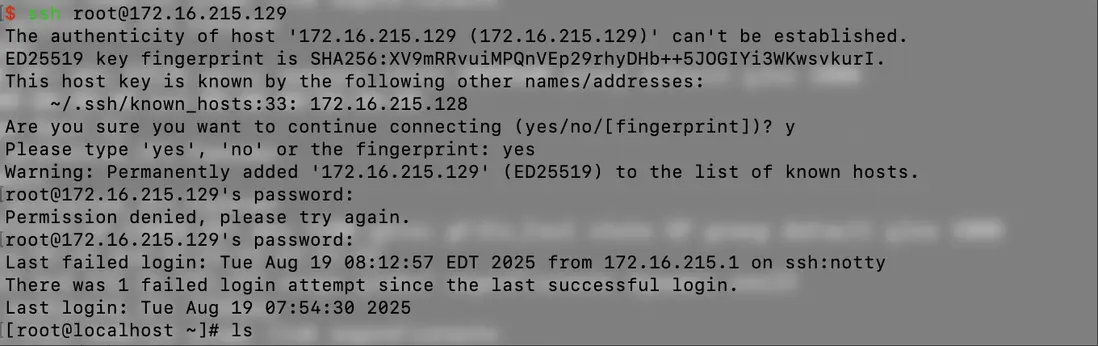
可以在Mac的終端直接登錄
接下來我們就來看代碼的實現,前端頁面使用三方庫xtermjs實現終端界面,遠程連接使用nodejs的ssh2模塊。
前端實現
我們先來看web端的實現。
前端代碼主要做三件事,第一初始化終端對象terminal,第二增加監聽事件監聽用户的輸入,第三建立web socket連接實現實時交互。我這裏用react項目做簡單的演示。
先在頁面上準備一個div,模擬終端背景。
import React, {useEffect, useRef, useState} from 'react';
import { Terminal } from 'xterm';

import 'xterm/css/xterm.css';

const FontSize = 14;
const Col = 80;

const WebTerminal = () => {
  const terminalRef = useRef(null);
  const webTerminal = useRef(null);
  const ws = useRef(null);

  useEffect(() => {
    const ele = terminalRef.current;
    if (ele) {

    }

  }, [terminalRef.current]);

  return <div ref={terminalRef}  style={{ backgroundColor: '#000', width: '100vw', height: '100vh' }}/>;
};

export default WebTerminal;
然後我們對終端進行初始化。
import React, {useEffect, useRef, useState} from 'react';
import { Terminal } from 'xterm';

import 'xterm/css/xterm.css';

const FontSize = 14;
const Col = 80;

const WebTerminal = () => {
  const terminalRef = useRef(null);
  const webTerminal = useRef(null);
  const ws = useRef(null);

  useEffect(() => {
    const ele = terminalRef.current;
    if (ele && !webTerminal.current) {
      const height = ele.clientHeight; // +
      const terminal = new Terminal({ // +
        cursorBlink: true, // +
        cols: Col, // +
        rows: Math.ceil(height / FontSize), // +
      }); // +
             // +
      terminal.open(ele); // +
      // +
      webTerminal.current = terminal; // +

    }

  }, [terminalRef.current]);

  return <div ref={terminalRef}  style={{ backgroundColor: '#000', width: '100vw', height: '100vh' }}/>;
};

export default WebTerminal;
這個時候可以看到頁面上出現了一個閃爍的光標,就像input輸入框被聚焦時候的狀態,cols屬性指定了一行可以輸入的字符數,rows指定了展示的行數,這裏做了一個簡單的取整的計算。這個時候還不能輸入內容,因為還沒加上事件監聽,那麼現在我們給它加上。
import React, {useEffect, useRef, useState} from 'react';
import { Terminal } from 'xterm';

import 'xterm/css/xterm.css';

const FontSize = 14;
const Col = 80;

const WebTerminal = () => {
  const terminalRef = useRef(null);
  const webTerminal = useRef(null);
  const ws = useRef(null);

  useEffect(() => {
    const ele = terminalRef.current;
    if (ele && !webTerminal.current) {
      const height = ele.clientHeight;
      const terminal = new Terminal({
        cursorBlink: true,
        cols: Col,
        rows: Math.ceil(height / FontSize),
      });

      terminal.open(ele);

      webTerminal.current = terminal;

      terminal.onData((val) => { // 鍵盤輸入 // +
        if (val === '\x03') { // +
          // nothig todo // +
        } else { // +
          terminal.write(val); // +
        } // +
      }); // +
    }

  }, [terminalRef.current]);

  return <div ref={terminalRef}  style={{ backgroundColor: '#000', width: '100vw', height: '100vh' }}/>;
};

export default WebTerminal;
這裏我們利用terminal對象的onData方法對用户輸入進行監聽,然後調用terminal的write方法將內容輸出到頁面上,這裏因為x03代表了Ctrl+C的組合鍵,所以把它做了過濾。這個時候你可能會發現一個問題,就是我們點擊回退鍵刪除內容的時候,控制枱會出現報錯,這是因為編碼的問題,onData返回的是utf16/ucs2編碼的內容,需要轉換為utf8編碼,這個後面我們交給node端去處理。
最後我們來實現web socket的實時交互,這塊因為需要建立web socket鏈接,需要web和node一起配合實現。
Webscoket實現
我們先寫node端的代碼。
const express = require('express');
const app = express();
const expressWs = require('express-ws')(app);

import { createNewServer } from './utils/createNewServer';


app.get('/', function (req: any, res: any, next: any) {
  res.end();
});

app.ws('/', function (ws: any, req: any) {
  createNewServer({
    host: '172.16.215.129',
    username: 'root',
    password: '123456'
  }, ws);
});

app.listen(3001)
這裏我們使用express-ws模塊來實現socket通信,監聽3001端口,接下來我們主要看createNewServer方法的實現。
首先引入ssh2模塊,構造一個ssh客户端,並與遠程主機、也就是我前面創建的虛擬機建立連接。
const SSHClient = require('ssh2').Client;
const utf8 = require('utf8');

const termCols = 80;
const termRows = 30;

export const createNewServer = (machineConfig: any, socket: any) => {
  const ssh = new SSHClient(); // +
  const { host, username, password } = machineConfig; // +
   // +
  ssh.connect({ // +
    port: 22, // +
    host, // +
    username, // +
    password, // +
  }).on('ready', function() { // +
    console.log('ssh連接已建立'); // +
  }) // +
}
這裏端口22是SSH提供遠程連接服務的默認端口,當ssh連接建立成功後,就會打印出”ssh連接已建立“。現在我們到web端去創建web socket連接來查看效果。
import React, {useEffect, useRef, useState} from 'react';
import { Terminal } from 'xterm';

import 'xterm/css/xterm.css';

const FontSize = 14;
const Col = 80;

const WebTerminal = () => {
  const terminalRef = useRef(null);
  const webTerminal = useRef(null);
  const ws = useRef(null);

  useEffect(() => {
    const ele = terminalRef.current;
    if (ele && !webTerminal.current) {
      const height = ele.clientHeight;
      const terminal = new Terminal({
        cursorBlink: true,
        cols: Col,
        rows: Math.ceil(height / FontSize),
      });

      terminal.open(ele);

      webTerminal.current = terminal;

      terminal.onData((val) => { // 鍵盤輸入
        if (val === '\x03') {
          // nothig todo
        } else {
          terminal.write(val);
        }
      });

      const socket = new WebSocket(`ws://127.0.0.1:3001`); // +
      socket.onopen = () => { // +
        socket.send('connect success'); // +
      }; // +
      ws.current = socket; // +
    }

  }, [terminalRef.current]);

  return <div ref={terminalRef}  style={{ backgroundColor: '#000', width: '100vw', height: '100vh' }}/>;
};

export default WebTerminal;
這個時候我們去刷新頁面,就可以看到nodejs的控制枱打印出了”ssh連接已建立“這句話。
與遠程主機建立連接後,我們就可以使用ssh2客户端的shell方法,與主機終端開啓交互。
const SSHClient = require('ssh2').Client;
const utf8 = require('utf8');

const termCols = 80;
const termRows = 30;

export const createNewServer = (machineConfig: any, socket: any) => {
  const ssh = new SSHClient();
  const { host, username, password } = machineConfig;

  ssh.connect({
    port: 22,
    host,
    username,
    password,
  }).on('ready', function() {
    console.log('ssh連接已建立');

    ssh.shell({ // +
      cols: termCols, // +
      rows: termRows, // +
    }, function(err: any, stream: any) { // +
      if (err) { // +
        return socket.send('\r\n*** SSH SHELL ERROR: ' + err.message + ' ***\r\n');
      } // +
      console.log('開啓交互'); // +
    }); // +
  })
}
此時nodejs的控制枱就打印出了”開啓交互“這句話,stream用於控制終端的輸入輸出。現在我們需要在web和nodejs兩端都加上對消息的監聽和發送,這樣才能開始真正的交互,我們就接着先寫node端的監聽和發送。
在node端接收到socket消息後,用on-message對前端傳遞過來的內容進行編碼轉換處理,並轉換為原始字節流寫入終端。
const SSHClient = require('ssh2').Client;
const utf8 = require('utf8');

const termCols = 80;
const termRows = 30;

export const createNewServer = (machineConfig: any, socket: any) => {
  const ssh = new SSHClient();
  const { host, username, password } = machineConfig;

  ssh.connect({
    port: 22,
    host,
    username,
    password,
  }).on('ready', function() {
    console.log('ssh連接已建立');

    ssh.shell({
      cols: termCols,
      rows: termRows,
    }, function(err: any, stream: any) {
      if (err) {
        return socket.send('\r\n*** SSH SHELL ERROR: ' + err.message + ' ***\r\n');
      }
      console.log('開啓交互');
      socket.on('message', function (data: any) { // +
        stream.write(Buffer.from(data, 'utf8')); // +
      }); // +
      // +
      stream.on('data', function (d: Buffer) { // +
        socket.send(d.toString('binary')); // +
      }); // +
    });
  })
}
同時監聽終端的輸出,對前端輸入的內容進行處理,並通過socket連接返回給前端。toString binary表示保持原始字節,避免utf8解碼異常。
接着我們來完成web端對socket的處理,首先把原來的用户輸入顯示到屏幕上改為發送socket消息。
terminal.onData((val) => { // 鍵盤輸入
  if (val === '\x03') {
    // nothig todo
  } else {
    socket.send(val); // M
  }
});
並增加對socket消息的監聽。
socket.onmessage = e => {
  terminal.write(e.data);
};
將socket返回的消息輸出到頁面模擬的終端容器上。
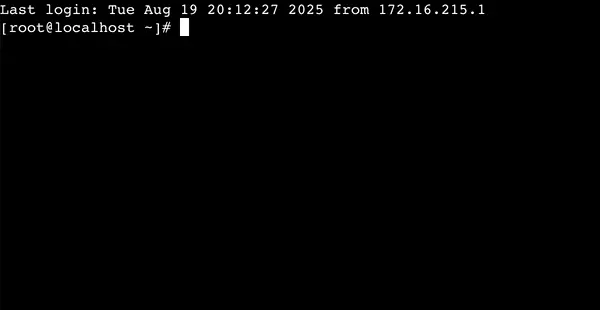
這個時候我們刷新頁面看到如下圖所示,就表示我們實現了最基本的交互功能。
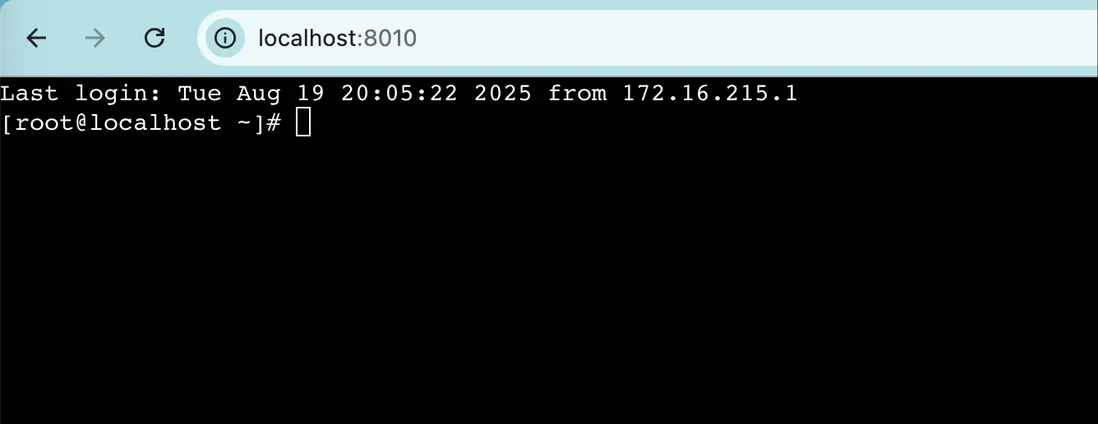
這樣就可以愉快地和遠程終端開始交互了。
到這裏我們還可以簡單優化一下,就是socket連接斷開後,如果不退出終端,會在遠程主機保留很多進程,我們可以用這個命令ps -aux | grep ssh看到。
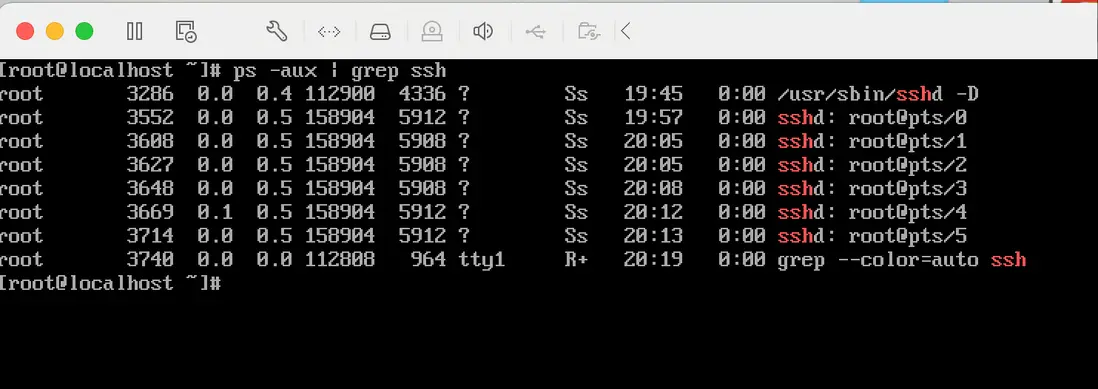
為了避免佔用內存,我們可以對socket的關閉進行監聽,在socket連接關閉的時候調用end方法來結束ssh連接服務。
socket.onclose = (event: any) => {
  ssh.end();
}
這樣我們再去查看的時候,就會看到只剩下一個正在運行的ssh服務。
到這裏我們就實現了一個簡單的WebSSH的交互了。當然這個例子比較簡單,類似瀏覽器窗口尺寸變化對輸出顯示的影響這裏也沒有處理,以及node端ssh2模塊的其他功能方法也沒有涉及到,感興趣的同學們可以去查閲文檔自己嘗試一下。